Welcome to Jekyll!
How to Organize Jekyll environment in Windows.
First posting with Jekyll at Github Pages
Even though I used with hexo, almost merly not updated it. So, re-organize with Jekyll and write posts as much well.
Installation
Quiet tired process, so just write down, and once again just follow it.
-
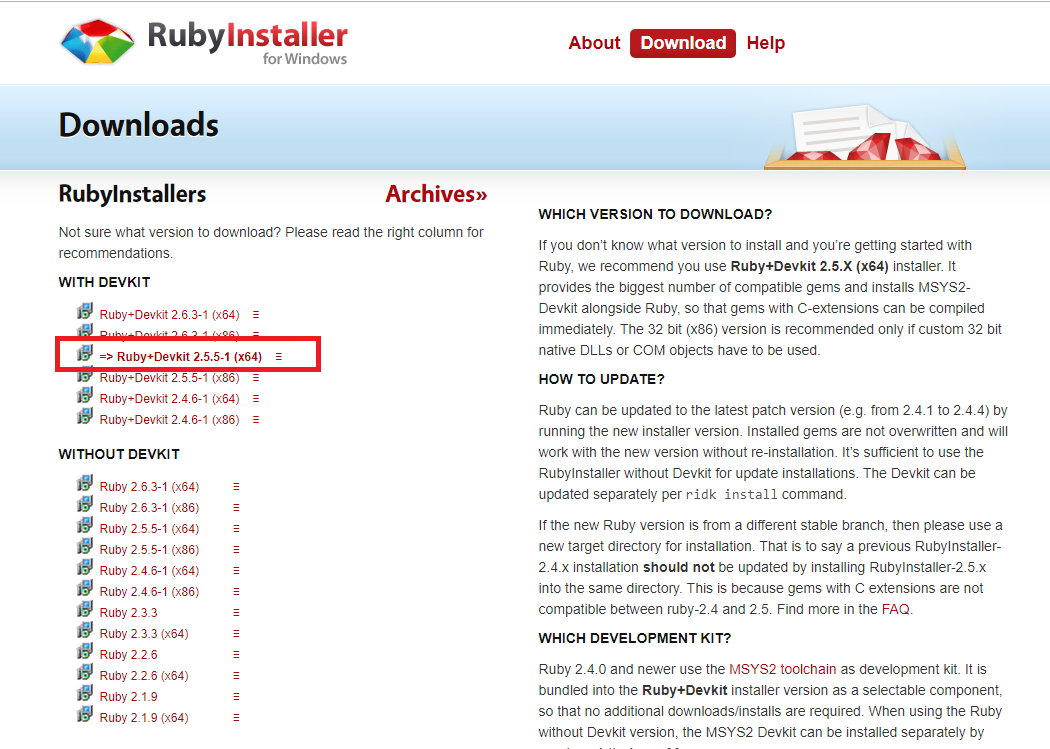
Download RubyInstaller from https://rubyinstaller.org/downloads/
Download it with DevKit version
-
Install that downloaded
just follow up. default settings
-
Install jekyll
In my case, I make C:\jekyll directory for download
 cd C:\

 mkdir jekyll

 cd jekyll

 gem install jekyll
-
Install additiol gem’s
 gem install minima

 gem install bundler

 gem install jekyll-feed

gem install tzinfo-data -
Now you can make a jekyll workspace like
cd
jekyll new . </code> -
Created! Now it’s time to serve
jekyll serveAfter then, you can see blog by accessing to http://127.0.0.1:4000
Useful tips while posting
- Install PicGo which can post images easily.
Comments